

LUCIA installation guide
Plan your lighting.
Room-by-room starting points for fixture size, hanging height, spacing, and clearance.
Room-by-room guide
Choose a space.
Select the setup closest to your room and jump directly to its measurements and placement checks.
01
Dining table
Size and center the fixture from the tabletop, then confirm the view from every seat.
- How to measure
- Measure the table's length and width. For a round table, use its diameter.
- Starting range
- A round fixture often feels balanced at about one-half to two-thirds of the table width. A linear fixture can begin at one-half to two-thirds of the table length.
- Placement
- Center the light over the table, not necessarily the room. Keep the fixture within the table footprint and visually clear of seated sight lines.
- Clearance
- Start 30-36 inches above the tabletop. With ceilings above 8 feet, raise the fixture only as needed to keep the room open and the light connected to the table.
For a long tableTwo smaller pendants may read more naturally than one oversized fixture.
Lay out the centers evenly along the table and keep the outer fixtures comfortably inside the table ends.
Before drilling
Tape a paper outline to the ceiling or suspend a lightweight template at the planned height. Check it from the doorway and from a seated position.
- Measure
- Tabletop to lowest point
- Start
- 30-36 in
- Align
- Center on the table
02
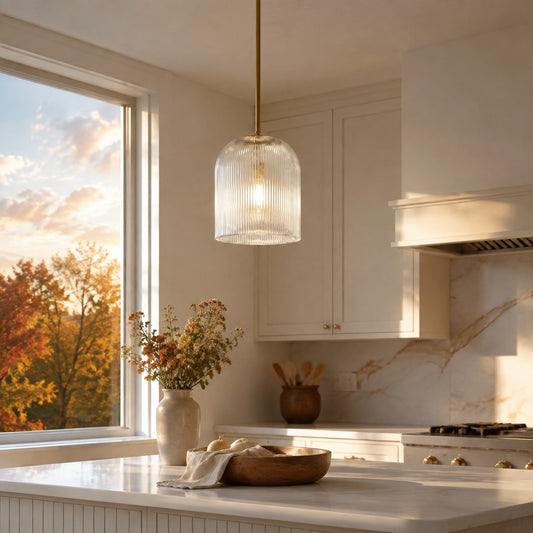
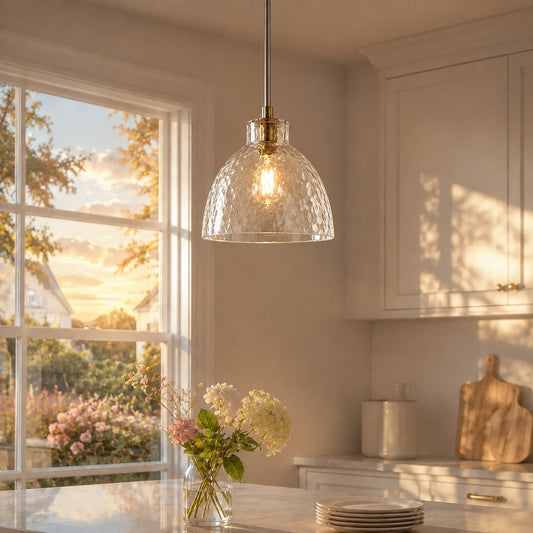
Kitchen island
Coordinate fixture width, quantity, and center spacing across the usable island surface.
- How to measure
- Measure the usable island length and width, excluding overhangs that do not need task light. Note where people stand and where stools are placed.
- Starting range
- For a single linear fixture, begin at one-half to two-thirds of the island length. For multiple pendants, choose a modest diameter before deciding how many fit.
- Placement
- Keep pendant centers evenly spaced on the island centerline. Map equal centers across the usable run, then confirm that adjacent shades retain comfortable breathing room.
- Clearance
- Start 30-36 inches above the counter. Preserve an open view across the island and keep the outer pendants in from the island ends.
Quantity checkChoose the count only after the fixture width is known.
More fixtures require smaller shades and closer coordination. Fewer fixtures can be larger, but should not crowd the ends of the island.
Lucia note
Mock up the full row, not just one pendant. Three paper circles taped above the island reveal spacing problems much faster than a single sample.
- Measure
- Countertop to lowest point
- Start
- 30-36 in
- Align
- Equal centers and end insets
03
Room center
Estimate fixture width from the room dimensions, then check visual weight and walking clearance.
- How to measure
- Measure room length and width in feet, plus finished ceiling height. Note doors, tall furniture, and the main walking path.
- Starting range
- Add room length and width in feet. The same number in inches is a common starting diameter - for example, 12 + 10 suggests about 22 inches.
- Placement
- Use the architectural center only when it also makes sense from the doorway and furniture plan. A seating arrangement may call for a visual center instead.
- Clearance
- Maintain at least 7 feet of clear height below the lowest point in an open walking area. Low ceilings usually favor flush or compact semi-flush forms.
Visual-weight checkOpen forms can feel lighter; dark or dense shades can feel larger.
Compare one size smaller and one size larger in the room before treating the formula as final.
Before drilling
Confirm that the junction box is rated to support the fixture's weight. Heavy fixtures may require additional bracing.
- Formula
- Length + width (ft)
- Start
- Same total (in)
- Clear path
- 7 ft minimum
04
Hallway and entry
Set fixture count from spacing, then keep equal end offsets and a clear walking path.
- How to measure
- Measure the clear corridor length and width. Mark door swings, openings, stairs, and any point where the ceiling changes.
- Starting range
- In a narrow passage, begin by testing compact fixtures about 6-8 feet on center, then adjust for ceiling height, beam spread, and light output. Wider entries can support one larger fixture or a more closely spaced rhythm.
- Placement
- Align fixtures on the path centerline. Start the first and last fixture at roughly half the center-to-center spacing from the corridor ends.
- Clearance
- Keep at least 7 feet below the lowest point and make sure open doors, tall cabinets, and stair sight lines remain clear.
For unusually long hallsDecide the fixture count from spacing - not from a single oversized diameter.
Once a count is chosen, divide the usable run into equal bays and check the end offsets before wiring.
Lucia note
A dimmer can make repeated fixtures more adaptable across daytime, evening, and overnight use.
- Start
- 6-8 ft on center
- End offset
- About 1/2 spacing
- Clear path
- 7 ft minimum
05
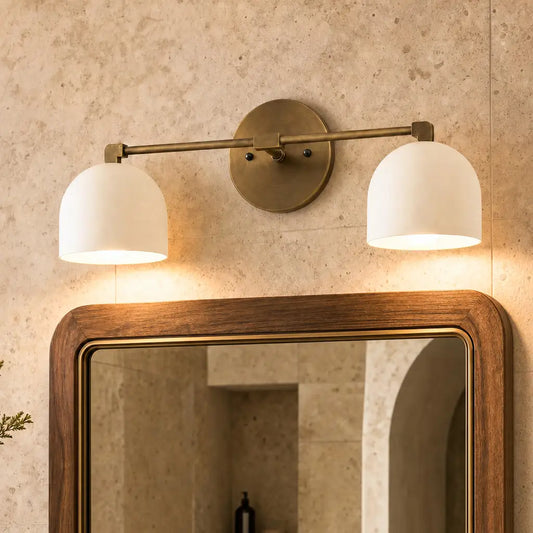
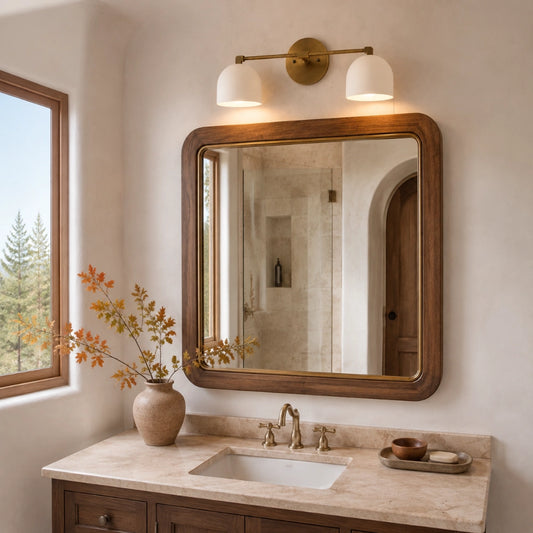
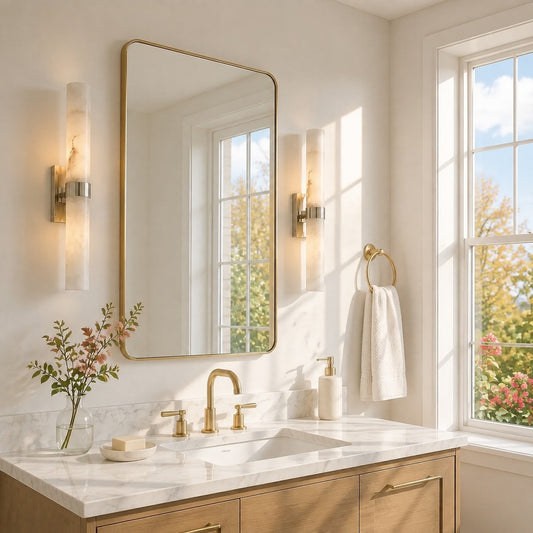
Bathroom vanity
Place light for even facial illumination while keeping mirrors, cabinets, and wet locations clear.
- How to measure
- Measure mirror width, mirror height, vanity width, and the available wall area on both sides. Note the sink centerline.
- Starting range
- For paired sconces, aim for the visible center of each sconce at about 65-70 inches above the finished floor (AFF), then adjust for fixture shape, mirror height, and the primary user's eye level. For an over-mirror bar, begin around three-quarters of the mirror width.
- Placement
- Place paired sconces symmetrically on both sides of the mirror. Keep the nearest edge of each fixture about 3-6 inches from the mirror edge where the product shape allows, while keeping the light source near face level.
- Clearance
- Confirm mirror edges, medicine-cabinet swing, faucets, and adjacent doors. Use fixtures with the appropriate damp or wet-location rating for the exact location.
Most even resultSide lighting usually softens facial shadows better than a single light overhead.
If side wall space is limited, choose a wide over-mirror fixture with a diffused shade.
Before drilling
Hold the sconce at the proposed height while someone checks the reflection. Shift it before wiring if the bulb or bright edge is directly visible in the mirror.
- Sconce center
- 65-70 in AFF
- Mirror gap
- About 3-6 in
- Align
- Paired at face level
06
Bedroom and bedside
Set the light from the seated position and keep the switch, shade, and brightest source easy to use.
- How to measure
- Record mattress-top height, nightstand height and width, headboard height, and the seated shoulder or eye level of the main user.
- Starting range
- For a table lamp, aim to bring the bottom of the shade close to seated shoulder level. Keep the shade comfortably within the nightstand width.
- Placement
- Place a wall sconce or pendant where its light falls across the book or bedside surface without shining directly into the user's eyes.
- Clearance
- Keep swing arms, shades, and cords clear of pillows and head movement. Confirm the switch can be reached from bed without stretching.
Pairing checkMatch the light source height before matching the fixture shape.
Two different nightstand heights may require adjustable lamps or independently set wall lights.
Lucia note
Test the light while seated in bed. A placement that looks balanced from the doorway can still create glare at pillow height.
- Set height
- Seated shoulder level
- Keep clear
- Pillows and head
- Control
- Switch within reach
07
Reading and living
Position the lamp beside or behind the reader so the page is lit without direct glare.
- How to measure
- Measure seat height, arm height, and the distance from the chair or sofa to the proposed lamp position. Sit in the actual reading posture.
- Starting range
- For a floor lamp, begin with the bottom of the shade near seated eye level. For a table lamp, use a table height that places the light above the shoulder and beside the page.
- Placement
- Place the lamp slightly behind or beside the reader's shoulder so the light reaches the page without casting a strong hand shadow.
- Clearance
- Keep the base out of the walking path and cords away from chair movement. Confirm that adjustable arms do not swing into nearby furniture.
Comfort checkThe bulb and brightest part of the shade should not be visible at seated eye level.
If glare remains, lower the lamp, choose a deeper shade, or use a more diffused light source.
Lucia note
Test the reading light with the room's other lights on and off. A dimmable source makes it easier to balance task light with evening ambience.
- Shade bottom
- Near seated eye level
- Position
- Beside or behind shoulder
- Keep clear
- Walking path
Before installation
Final installation checklist.
Use the recommendation as a starting point, then confirm the final layout on site.
01Fit
Check the fixture from the main viewpoints and keep doors, cabinets, furniture, and walking paths clear.
02Support
Confirm fixture weight, mounting hardware, and junction-box support with a qualified installer.
03Code
Verify product instructions, local electrical requirements, and damp or wet ratings where needed.
Still unsure? Send your room dimensions and a clear photo to support@lucialiving.com.
Return to the size calculator