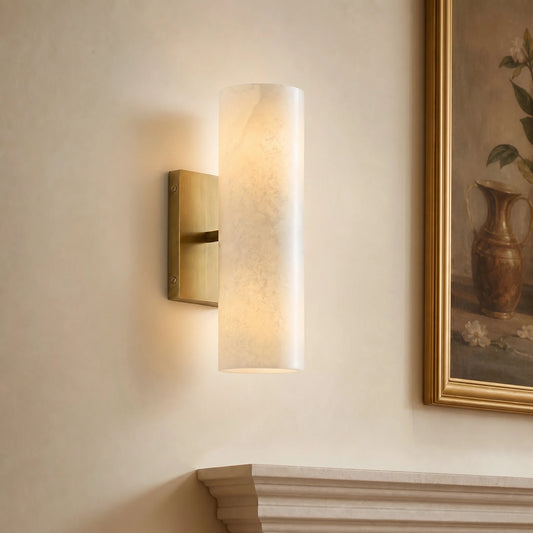
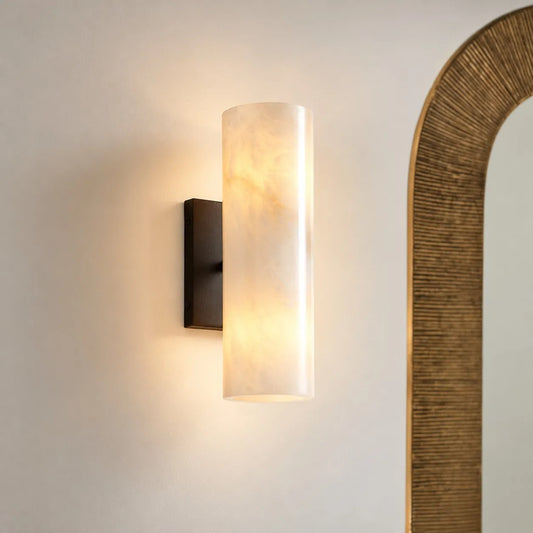
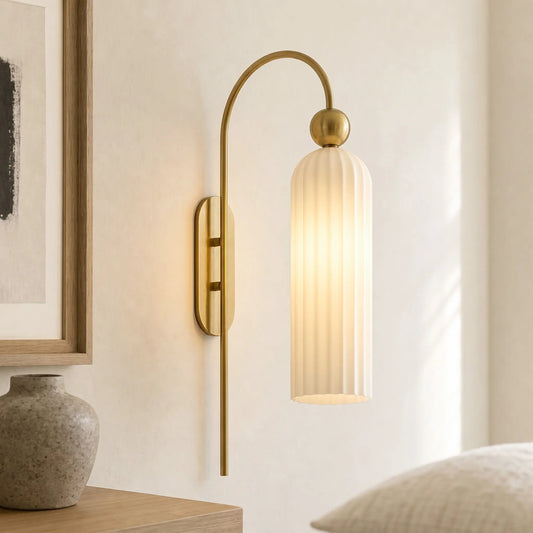
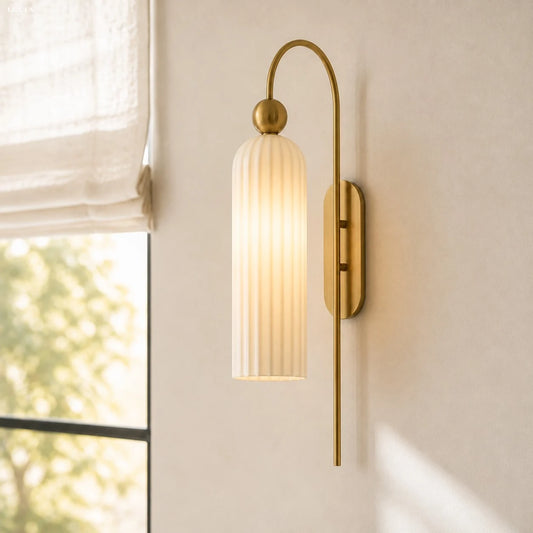
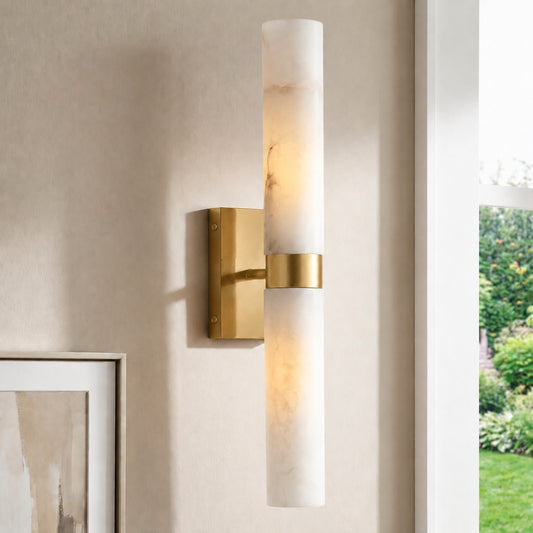


Paloma · Wall sconce
Clear ribs, close to the wall.
Brass, black, or nickel. For an entry, a bedside, or the wall beside a sofa.
What it adds
Finish the room
A refined detail for an entry, a bedside, or beside a sofa, so a blank wall and the furniture read as one arrangement.
Layered, and light
Clear glass with simple metal details adds texture. The slim outline stays clear.
Day, then night
By day, the glass and metal lines. At night, light and shadow on the wall.
It meets the hardware
Brass, black, and nickel, to echo a mirror frame, a handle, or furniture hardware.
Finish the room
A refined detail for an entry, a bedside, or beside a sofa, so a blank wall and the furniture read as one arrangement.
Layered, and light
Clear glass with simple metal details adds texture. The slim outline stays clear.
Day, then night
By day, the glass and metal lines. At night, light and shadow on the wall.
It meets the hardware
Brass, black, and nickel, to echo a mirror frame, a handle, or furniture hardware.
In the room
The same sconce, with the furniture it is meant to finish.

Beside the sofa
Living room

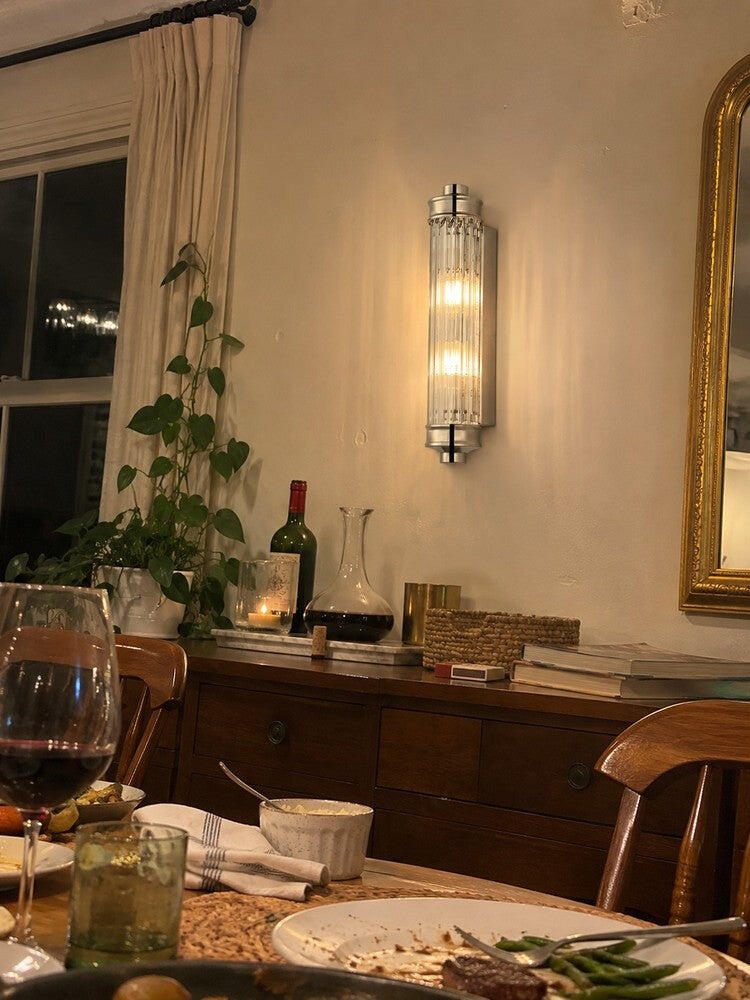
Above the sideboard
Dining

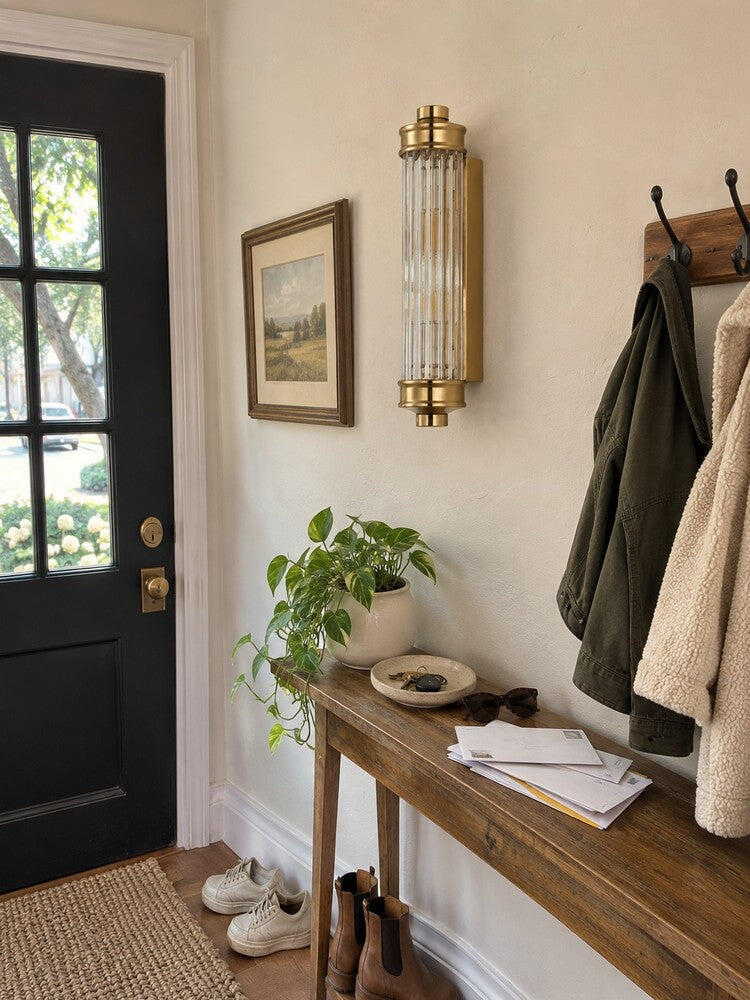
At the console
Entry

Down the hall
Hall

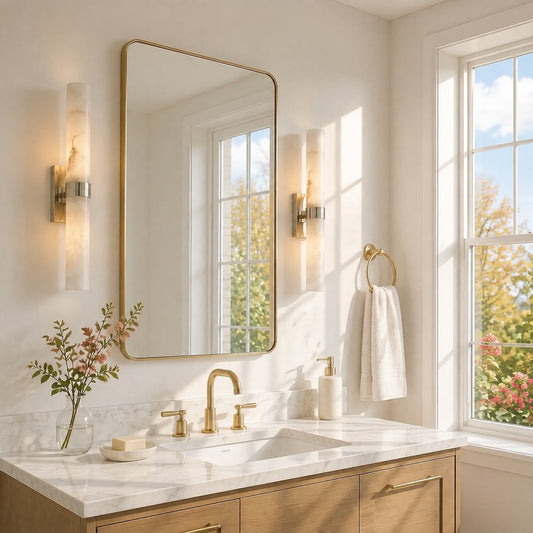
At the mirror
Bath

By the fireplace
Living room

Over the sink
Kitchen

On the landing
Stair

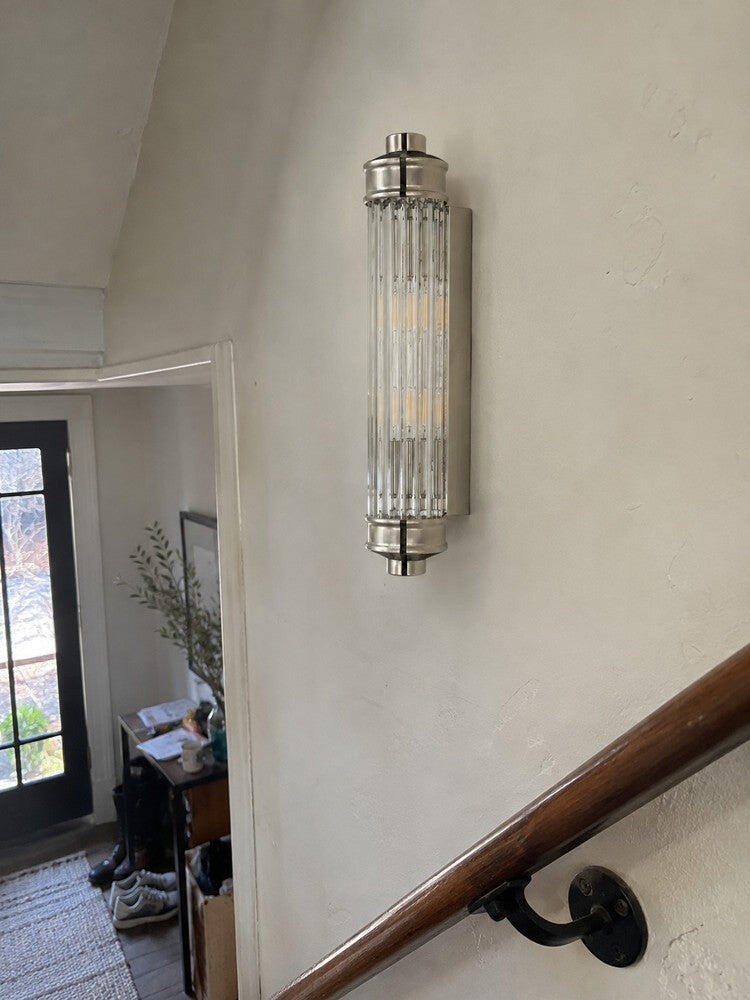
A cooler metal
Hall

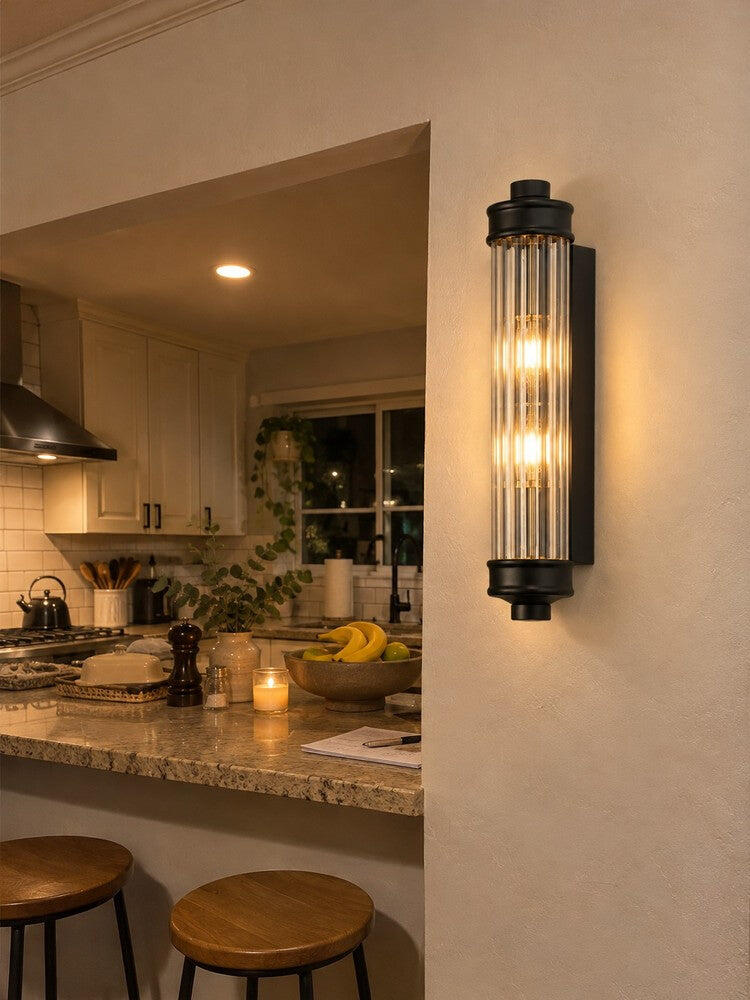
With darker hardware
Bath
01–03 / 10
Off, then on
The same wall. Daylight first, then the sconce lit.

Off
Glass and metal, in daylight.

On
Light on the wall behind it.
Up close
The caps, the rods, and the bulbs inside the glass.

Top cap
Metal, where the rods start.

Bottom cap
Cap, knob, and backplate.

Inside the glass
Candelabra bulbs, not included.

Glass rods
Clear, and vertical.
01–03 / 04
Size and specifications

Overall
3.3 in W × 3.3 in D × 16.7 in H
Overall, metric
8.4 cm W × 8.4 cm D × 42.4 cm H
Glass height
11.8 in / 30 cm
Top cap
2.2 in / 5.6 cm
Backplate
2 1/8 in W × 1.5 in D
5.4 cm W × 3.8 cm D
5.4 cm W × 3.8 cm D
Finish
Brass, black, nickel
Material
Glass, metal
Bulb base
E12
Bulb included
No
Maximum wattage
60W
Sold as
One, or a set of two

Brass

Black

Nickel
THE PALOMA GUIDE
Beautifully placed.
Find the right scale. Give every light its place.
HEIGHT16.7″
WIDTH3.3″
PROJECTION3.3″
ARRANGEMENT STUDY02 / MIRROR PAIR
Frame your mirror.
One on each side · 2 sconces
Actual fixture proportions · Illustrative furniture
LEAVE ROOM TO BREATHE
Allow 3–6″ between each mirror edge and the nearest edge of the sconce.
CHECK THE FULL SPAN
A 31.5″ mirror needs approximately 44.4–49.9″ for this arrangement, before outer clearance.
Installation and care
Installation
- Turn the power off at the breaker before you start.
- Compare the backplate, 2 1/8 in wide and 1.5 in deep, with the box already on the wall.
- A wider canopy or box may stay visible. The backplate is narrower than a typical 4 in box.
- Have a qualified person make the connection, and follow the included instructions.
- Do not hang weight from the glass rods.
Care
- Dust the glass rods with a soft dry cloth.
- Do not use abrasive cleaner, ammonia, or a soaking cloth on the metal or glass.
- Wipe the metal. Do not scrub it.
- If a rod cracks, stop using the sconce and contact support. Replacement glass is not listed for sale.
Photographed as made
Workshop photographs of the brass finish, unlit and switched on.

Front view
Glass rods and brass hardware.

On the bench
Backplate and lead wire visible.

Switched on
Warm light through the clear glass rods.
Questions, answered
How many bulbs does each sconce need, and are they included?
Bulbs are not included. The specification lists an E12 base and a 60W maximum. The detail photographs show several candelabra bulbs inside the glass. The product page does not publish an exact socket count, so check the included instructions before you buy bulbs.
What bulb shape and size should I buy?
A clear E12 candelabra bulb, tubular or candle-shaped, small enough to sit inside the 3.3 in glass. Stay at or under 60W. The photographs show clear filament bulbs, not a large globe.
Can I dim it, and what does that require?
The product page does not say this sconce is dimmable. Do not assume a wall dimmer will work. Use a dimmer only if the included instructions allow it, and only with a dimmable E12 bulb.
Can it go in a bathroom?
The product description lists bathrooms among suggested rooms. Install it only where the instructions and local code allow.
Will the backplate cover my existing wiring?
The dimension drawing lists the backplate at 2 1/8 in wide and 1.5 in deep. Compare that with the canopy or box already on the wall. A wider plate may stay visible. Follow the included mounting and wiring instructions.